There are many interfaces for presenting and accessing digital scholarship, but almost all of them, at some point or another, come back to the internet and the world wide web.
Today we’re going to explore some of the basic building blocks of the internet. The goal for this assignment is to think about how the pages that you are creating with WordPress work, so that you are better able to control your WordPress site and to evaluate the DH projects you interact with.
Server, browser, http requests, and files. The internet and all digital humanities projects rely on these basic elements.
But you don’t need a server or to send http requests to experiment with and begin to understand HTML.
HTML
In Box, you will find a folder for today’s lab. Go ahead and open that up. You should see a text (.txt) file named “PennsylvaniaDutchCooking.txt”, a folder with images, and an “index.html” file.
Although the internet seems strange and wondrous, at a very basic level, it is made up of text and image files that are interpreted by web browsers.
Open the index.html file with Atom.
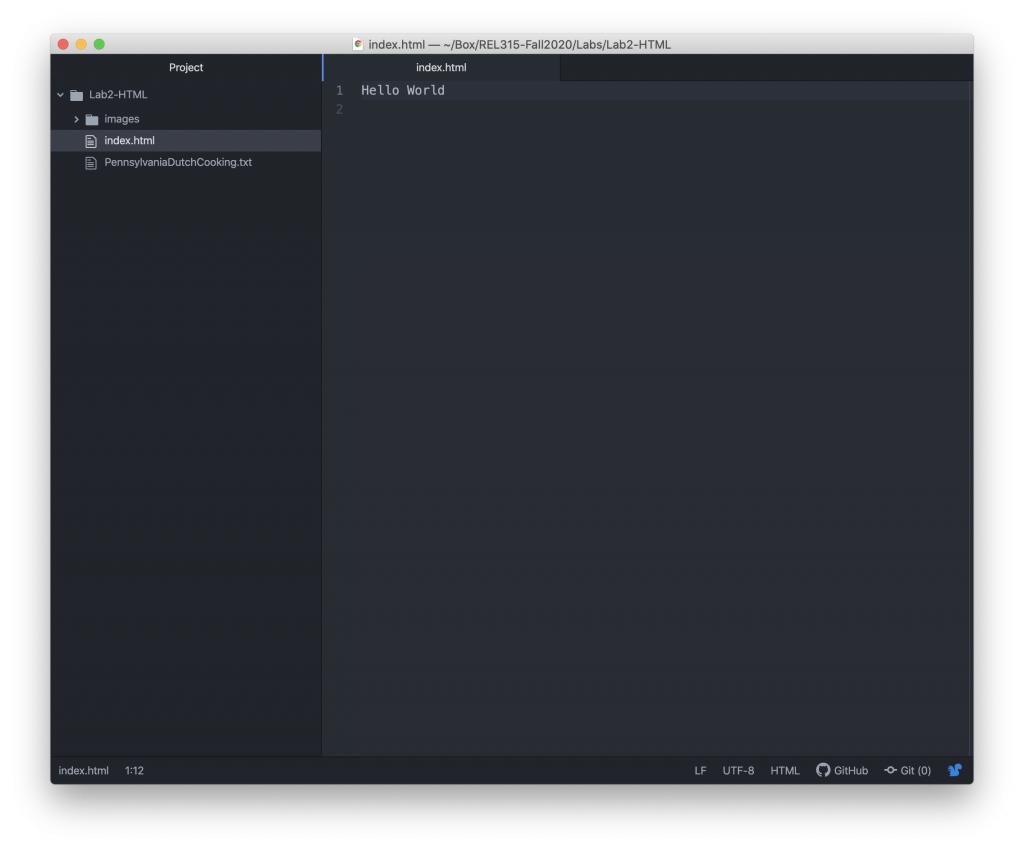
At the beginning of the file, type “Hello World”. Save the file and open it with your favorite web browser.
Congratulations! You’ve just written your first web page.
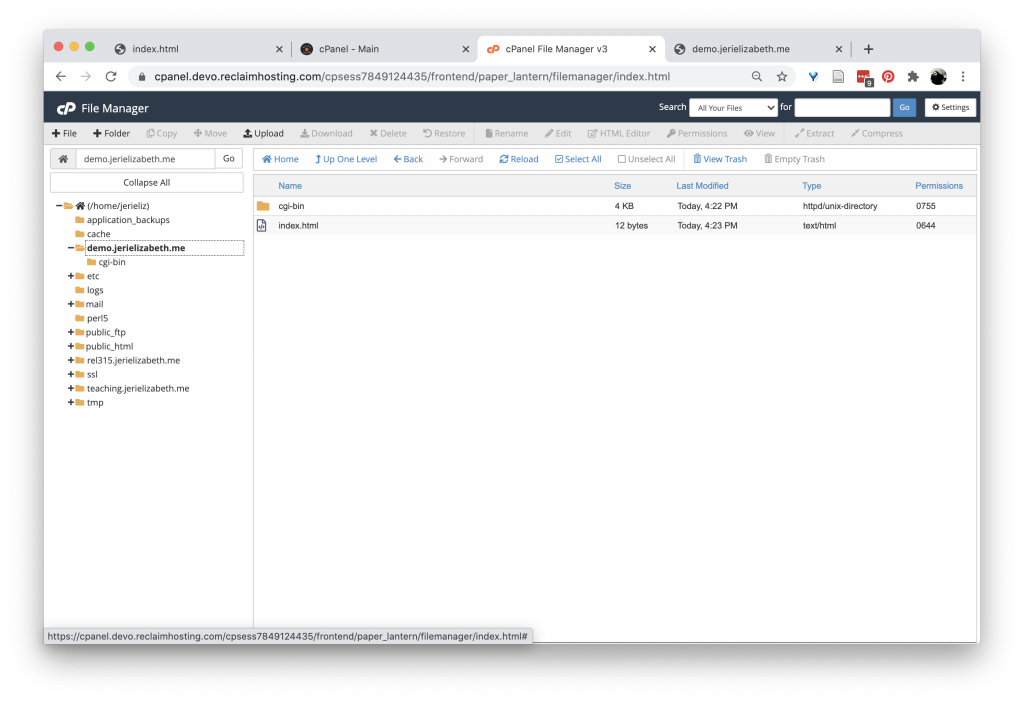
If you were to put this file onto a web server, then anyone would be able to access it if they knew the URL. (http://demo.jerielizabeth.me/)
Structuring an HTML Document
All HTML documents share a basic structure. Conforming to this structure is what enables my website and your website to be displayed by any modern browser.
All web documents begin with a DOCTYPE declaration. This tells your browser that the document it is reading uses HTML.
<!DOCTYPE html>

<html>
	<head>
		<meta charset="utf-8">
		<title>For Example ...</title>
	</head>
	<body>

	</body>
</html>
Next, all of the content in the page goes inside the <html> tags – between <html> and </html>.
Within <html>, you will have a <head></head> and a <body> </body>. These are not nested (you close the head before you open the body). The information in the <head> tag is for the browser – it is not displayed on the screen (exception being the “title” which will display in the top of the tab.) There is a whole range of information that can go in the <head>. You can see the <head> of a page on your WordPress site by loading it in your browser, and then selecting ‘View → Developer → View Source’. (Depending on your theme, this could be rather messy).
Inside the <body></body> tags goes all of the content that should appear within the browser. This is your website title, navigation, content, links, images, forms, tables, and the like.
After you close the <body>, you close the <html> tag.
Now you try:
- Add this basic structure to your index.html file.
- Change the title to something more interesting.
- And put “Hello World” within the <body> </body> tags.
Look at the file in your web browser. Has anything changed?
Structuring Text
Once you have your document set up, you can start adding structure to your text using the HTML tags. HTML tags are designed to be descriptive. For example:
- Header, of first importance, is <h1>
- Header, of secondary importance, is <h2>
- Header, of tertiary importance, is <h3>, and so on.
- Paragraphs are <p>
- Italics are <em> for emphasis
- Bold is <strong>
- Images are <img>. They are combined with a ‘src’ (source) attribute that gives the location of the image, either relative to the document or a URL. (They also get the ‘alt’ attribute that we talked about earlier.) <img src=”images/cover.jpg” alt=”Cover of Cookbook”> (this tag doesn’t need to be closed.)
- Links are <a> tag for anchor. They are combined with an ‘href’ (hypertext reference) attribute that provides the URL of the linked document. So, <a href=”https://www.youtube.com/watch?v=dQw4w9WgXcQ“>Text you click</a>
- Lists are either ordered <ol> or unordered <ul>
One special tag is the <div></div> tag. It can be used to create groups of items, which comes in handy for controlling layout. But it does not have a set content type associated with it. You can have a <div> of images, of paragraphs, of links, etc.
There also are a collection of tags for sections of content, such as <header>, <main>, <article>, <aside>, <footer>, and <nav>.
The main trick is that once tags are opened, they need to be closed and in the reverse order (last tag opened, first tag closed.) So, for example …
<body>

  <h1>Title</h1>

  <p>This is the first paragraph of my page. This <strong>text is bold</strong> </p>

</body>
Let’s try out some of these tags with our “Hello World” text.
- Try wrapping the text in an <h1> and then an <h3>.
- Wrap it in a <p> tag.
- Turn it into a link.
- Now try to add an image to the page. You can use one of the images from the book or one of your own.
Note: This is as far as we got in class. You are welcome to explore CSS on your own but it is not necessary for completing the lab assignment. Homework assignment is at the end of the page.
Make it Pretty
On their own, HTML pages are … dull. It did not take long for people to start customizing the appearance of their HTML content. As things progressed and got increasingly complicated, it became clear that it would be useful to separate the content from the style information. Enter CSS – Cascading Style Sheets.
The idea behind CSS is to work from the most general to the most specific (cascades like a waterfall), and the last style instruction the browser receives is the one it displays. So you can associate a font with the <body> tag and all content on the page will display that font, unless you give another command for a more specific tag, such as your <h1> to be a different font. Another way to think about it is decorating a cake. You start with the base and then layer up more and more detail.
CSS is a bit of a beast so we are only going to learn some basic functionality and “declarations.” You may also find that you need to troubleshoot your CSS from time to time, and most modern web browsers include “developer tools” for just that purpose. If you are using Chrome, you can access them by going to “View → Developer → Developer Tools.”
Where to write your CSS
Things get crazy from the start. There are multiple places you can hide CSS, and a very specific order in which it is read. The important thing to remember is that the web browser reads you HTML file from the top down, so the lower down the page something is, the higher privilege it receives.
The best place to write your CSS is in an external .css file. This file (typically) lives on the server with your HTML page. To associate the .css and .html files, you include link information in the <head> of your .html file.
<link rel=”stylesheet” type=”text/css” href=”style.css”>
This tells the browser that there is a file called “style.css” that lives in the same directory as the current html file and that contains the style information for the page.
You can have multiple stylesheets linked to your page, and if there is conflicting code, the last listed file takes precedence.
There is a special css file that you should add to your site, and that is a font file. You can browse a world of fonts at https://fonts.google.com/. Google provides an embed code with a link like the one above that you can place in the <head> of your file.
This is not the only place you will run into CSS though. You can also include css directly in the <head> of the html document. This is called an “internal style” and it goes inside of a <style> </style> tag inside of the <head> tags.
You can also put style information directly inside of an HTML tag, such as <p style=”color: red;”>. For now, don’t do this.
What is a declaration?
CSS declarations are composed of the HTML element we want to style, the aspect of that element that we want to style (called the property) and what you want the style to be (value).
This gets written in the following format:
h1 { font-size: 28px; }
There are a lot of properties and they vary by css element. For our purposes, you need to know “color”, “font-family”, “margin”, “padding”, and “display”.
“color” sets the color of the element. You can use color names – “red”, “blue”, etc. – or you can enter the wild wonderful world of HEX codes. https://paletton.com/#uid=1000u0kllllaFw0g0qFqFg0w0aF These hex codes gives the red value, the green value, and the blue value. (for too much information, the colors are a value between 0-255, but expressed in a hexadecimal (base-16) number.)
For fonts, it is good practice to give the browser more than option. This is because you never exactly know what the capacity will be of the browser or machine that is reading your html page. To do this, we give the browser a series of fonts under the “font-family” property. Here you list the one you want most first. It is also good to end with “serif” or “sans-serif,” which tells the machine to use the default system font if it can’t use any of the other choices. Two or three fonts is usually sufficient.
I recommend starting with Google Fonts, then a web safe font, then the default font.
“margin” and “padding” are used to create space between different elements. Think of each element existing in a box. Margin controls the space outside the box; padding controls the space inside of the box.
“display” gets to the way elements are handled by the browser. There are two primary kinds of elements – block elements and inline elements. Block elements take up the whole width of the line; they fall one after another. Inline elements, like <strong> or <a> , stay within their surrounding element (<p>). With “display”, you can make an inline object behave as a block element and vice-versa.
How do I say which element to style?
What if you want to target online one paragraph among many, you can use identifiers in the HTML to target particular elements. There are two main identifiers – “ids” and “classes”. IDs are singular – you can only have one of each ID on a page. Classes, by contrast, can be used multiple times to control a set of things.
<p id=”uniqueName”>
<p class=”groupName”>
To use these in the CSS, you use the following:
#uniqueName {}
.groupName {}
Let’s practice. Add an ID to “Hello World” and use the ID to set the color and font in your CSS file.
Homework
Working from the Project Gutenberg text (PennsylvaniaDutchCooking.txt), create a webpage with at least 3 recipes that includes the following:
- H1 and H2 headers
- un-ordered list
- two images
- 4 links with one rickroll
If you would like to practice your CSS, you are welcome to try the following for extra credit.
- links in “head” to a google font and css file.
- Basic styling
- color
- font
- center one image (this is tricky)
Put your files in a folder named with your name and upload to our Box folder. Your submission should include:
- index.html
- images/
- style.css (if you attempted the CSS portions)