In your first lab assignment, we are going to learn how to install WordPress on your new web space and customize it for your personal portfolio. You can and will probably continue to customize your sites over the course of the semester.
So let’s go!
Install WordPress

Welcome to Reclaim Hosting. This is your new hosting service. Reclaim Hosting maintains computers that are running web servers. They also provide some software to help you create and manage your website. We will come back to this, but for now, click on the “WordPress” logo under “Applications” to launch the installation page.
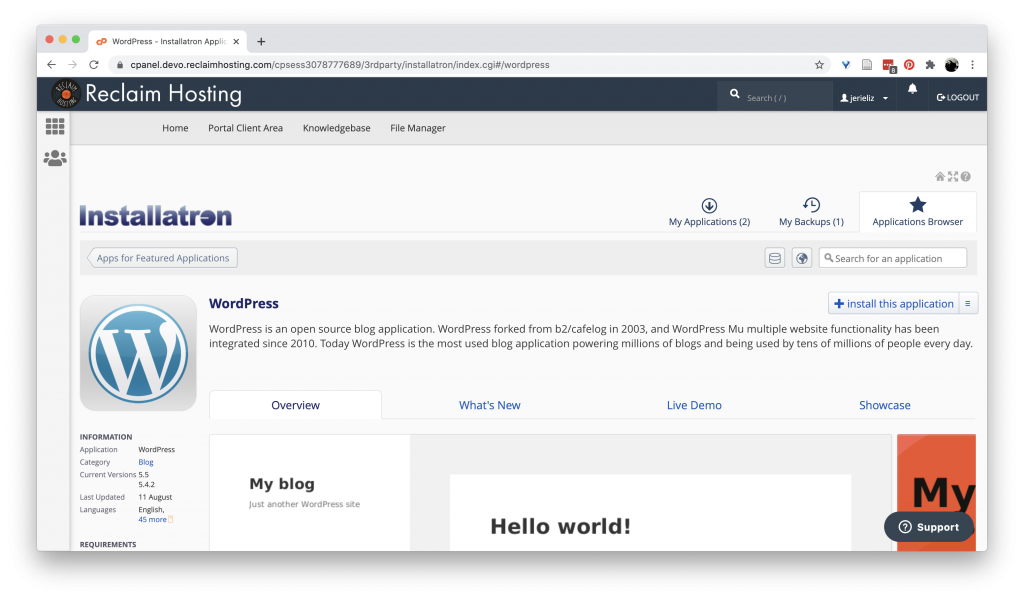
From here, click “Install this application” to install WordPress on your website.

During installation, you get to make a few decisions. First, confirm that the “domain” you are installing to looks right. This is what people will enter into their web browser to access your site.
Unless you are doing something creative with your site, leave the “Directory” field blank.
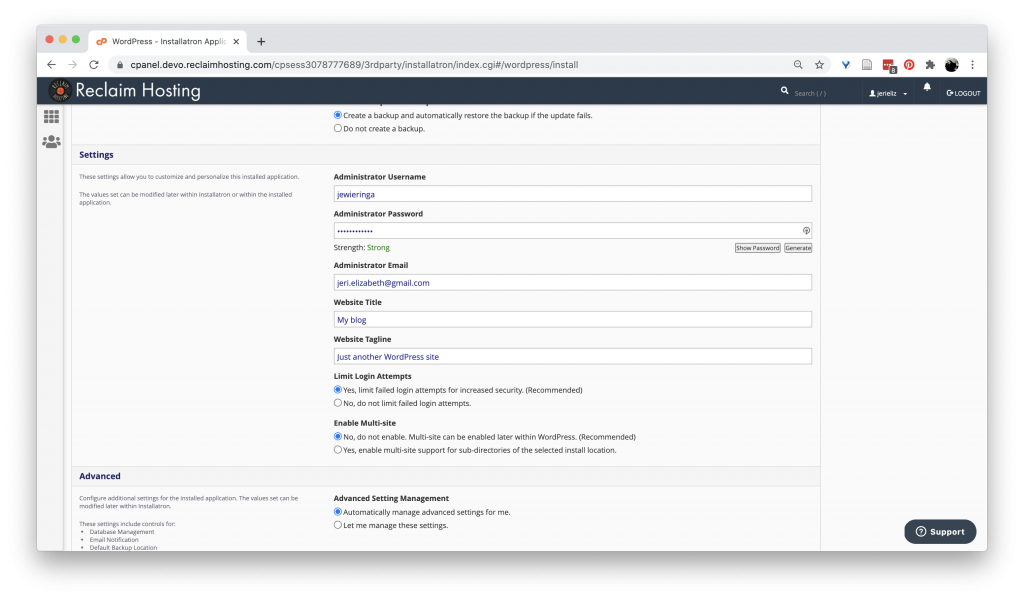
Further down, set your admin account information, Website title, and tagline.
Do not choose “admin” as your admin username. This was a very common choice in the early days of WordPress and as a result makes your site vulnerable to hacking.
Go with the defaults for Limiting login attempts and multisite.
And select install.
Congratulations! You have a WordPress site!
What is WordPress?
WordPress is a content management system or CMS. It is software that helps you create and manage content for the web. Rather than having to create each html page, the CMS enables you to create a pattern and then apply that pattern to different kinds of content. This enables you to separate the content from the design elements of the site.
We will experiment next week with HTML and CSS, which will help make the advantages of a content management system clearer. But for now, let’s get oriented to the WordPress ecosystem.
Elements of Your WordPress Site
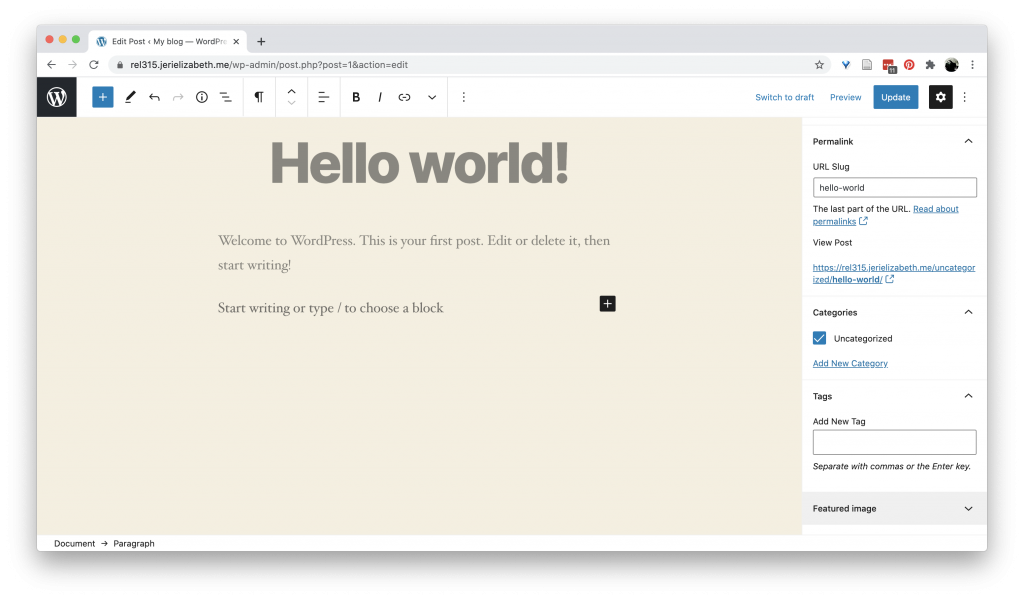
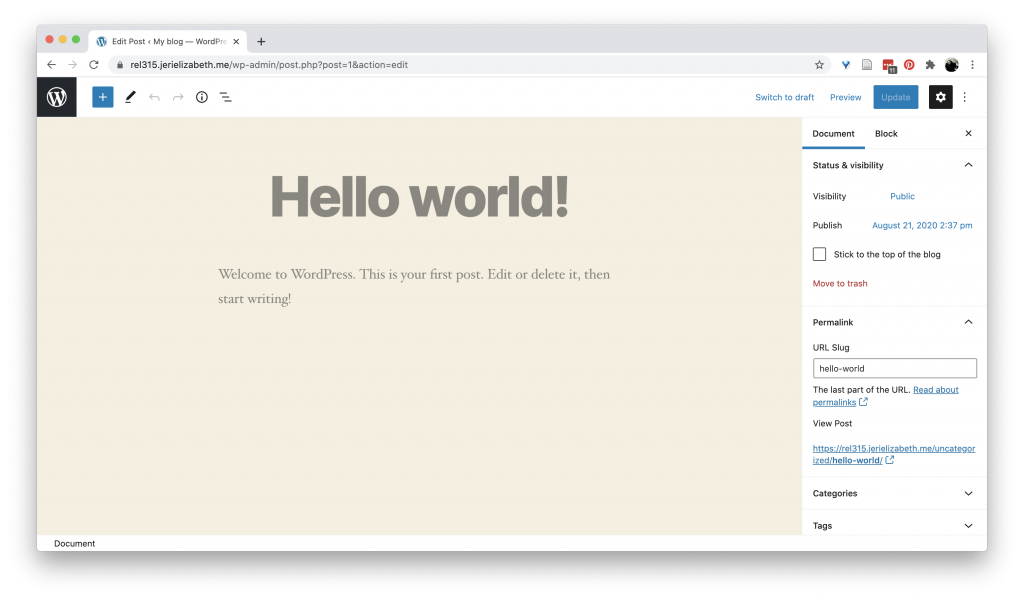
Most content management systems are organized around a basic building block. In the case of WordPress, the main component is the post and its corollary, the page.
Posts are for timely pieces of writing. Pages are for stable and contextual information. These discrete chunks of writing are the building blocks around which a WordPress site is built.
The interface for writing your posts and pages is what is called a WYSIWYG – “What You See Is What You Get” – editor. It gives you an easy way to create the HTML that web browsers use to display text. (More on that next week.)
Side note, the interface for writing posts and pages has recently updated, so older tutorials you find might look different. The new interface organizes contest in “blocks” that you can move around and reorder.
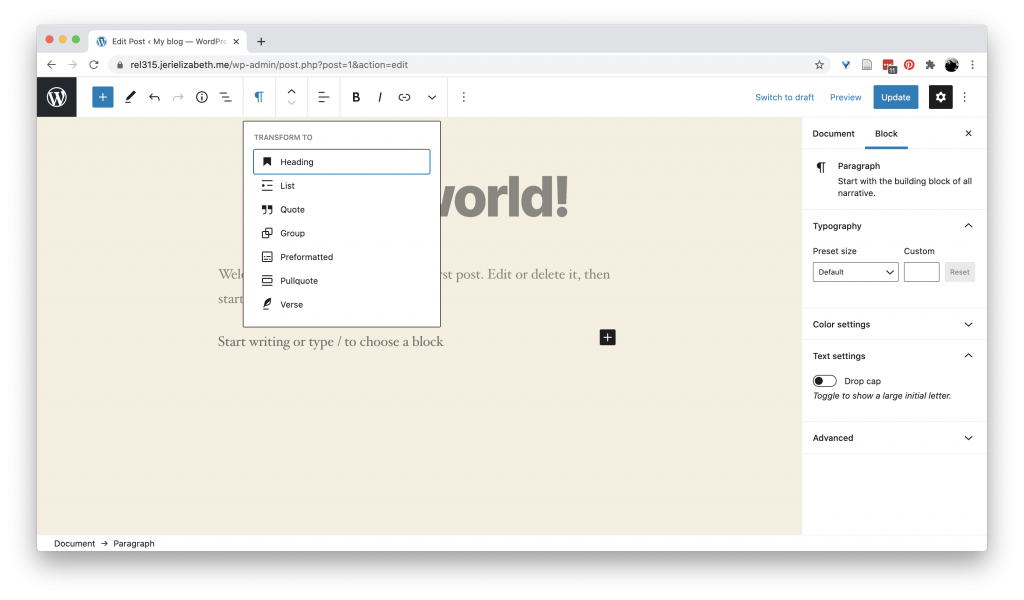
You can use the graphic interface to add different types of content – for example, lists, quotes, and code blocks. It is important to use these for any formatting of text so that the correct HTML is generated.
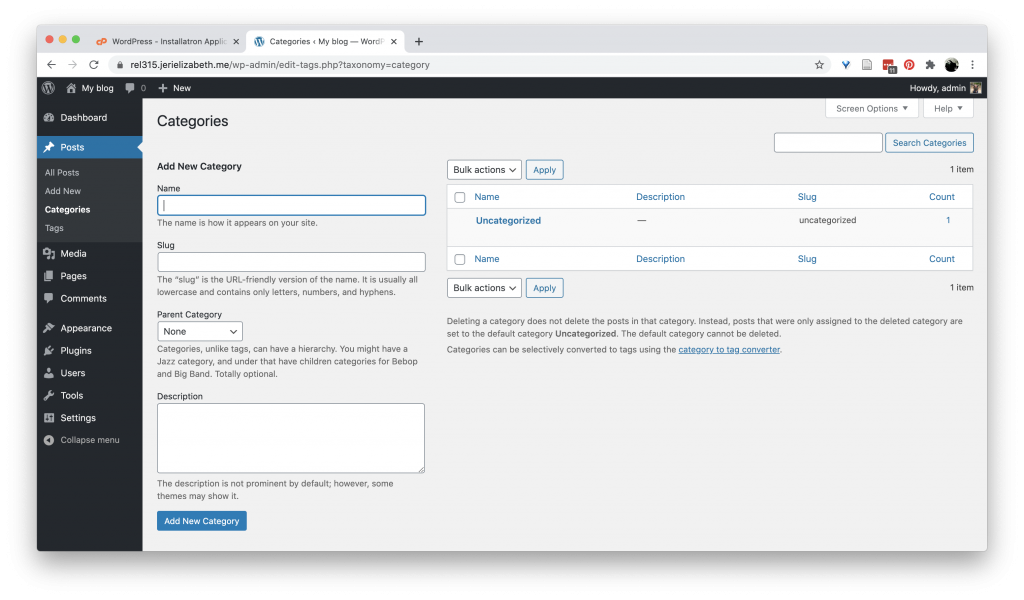
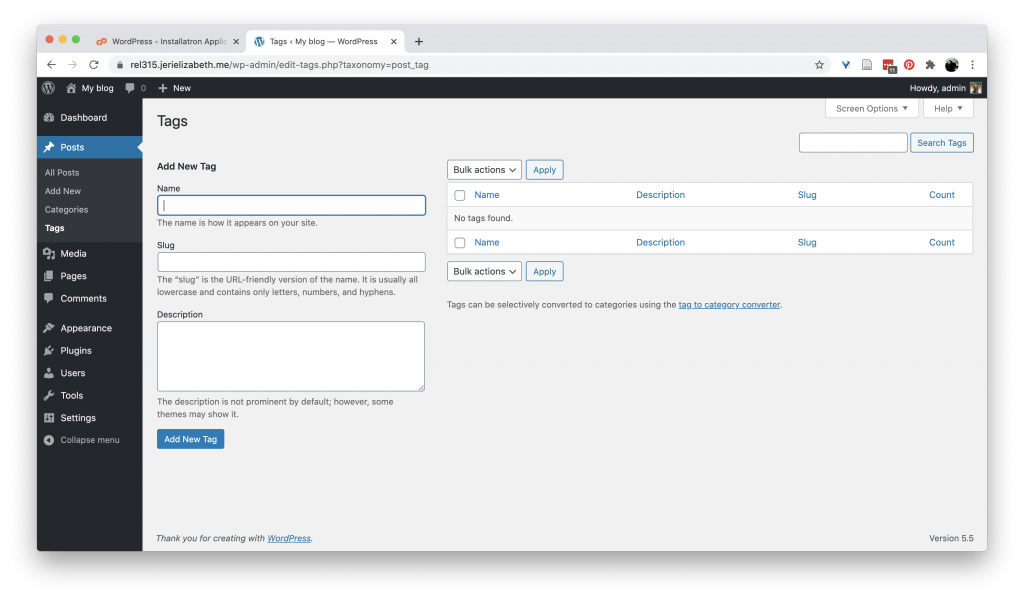
Surrounding the posts and pages is the “metadata” including “categories” and “tags.” The big difference here is that “categories” are singular but can be nested, whereas tags are additive (you can have multiple) but all equal in hierarchy.
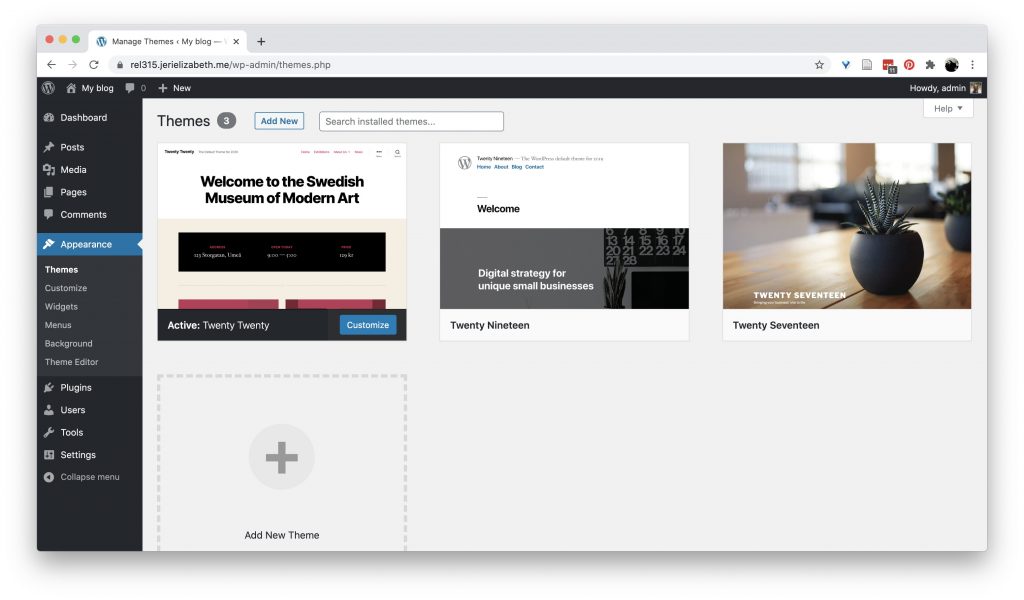
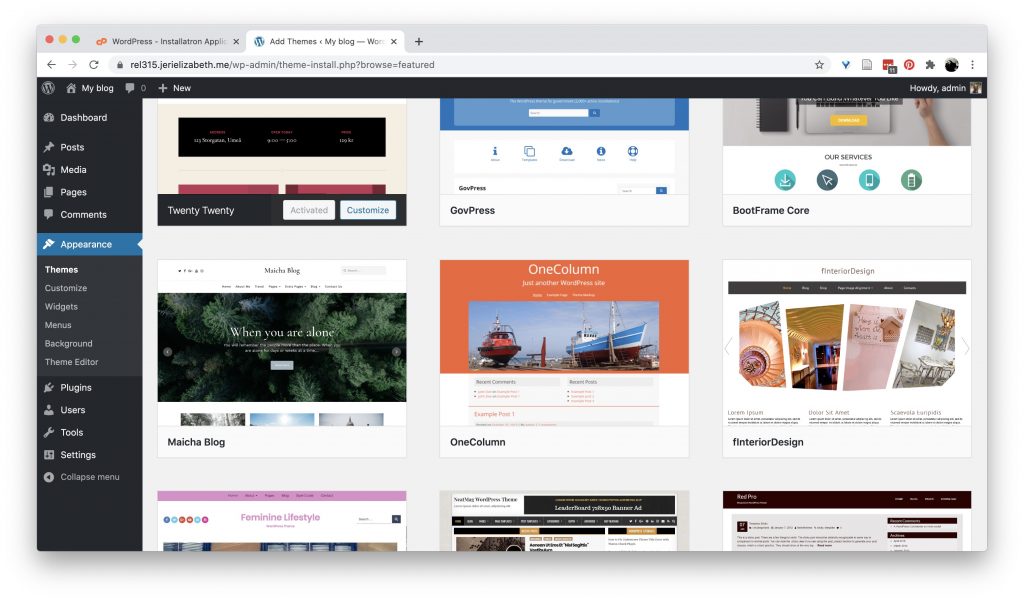
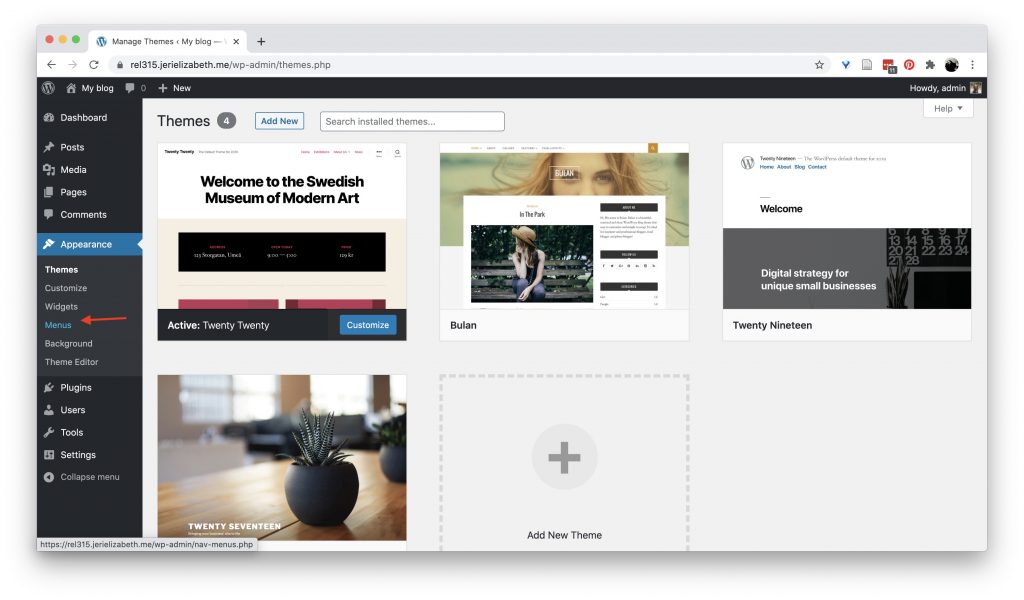
The look and functionality of a WordPress site is controlled by the theme and plugins. Your site comes with three default themes, but there is a whole world of themes that you can install on your site, and that’s without moving into customization or building your own theme.
Similarly, plugins let you add all kinds of functionality to a site. We won’t do much with plugins in this class, but it is good to remember that if there is something you wish your blog could handle, there is probably a plugin for that.
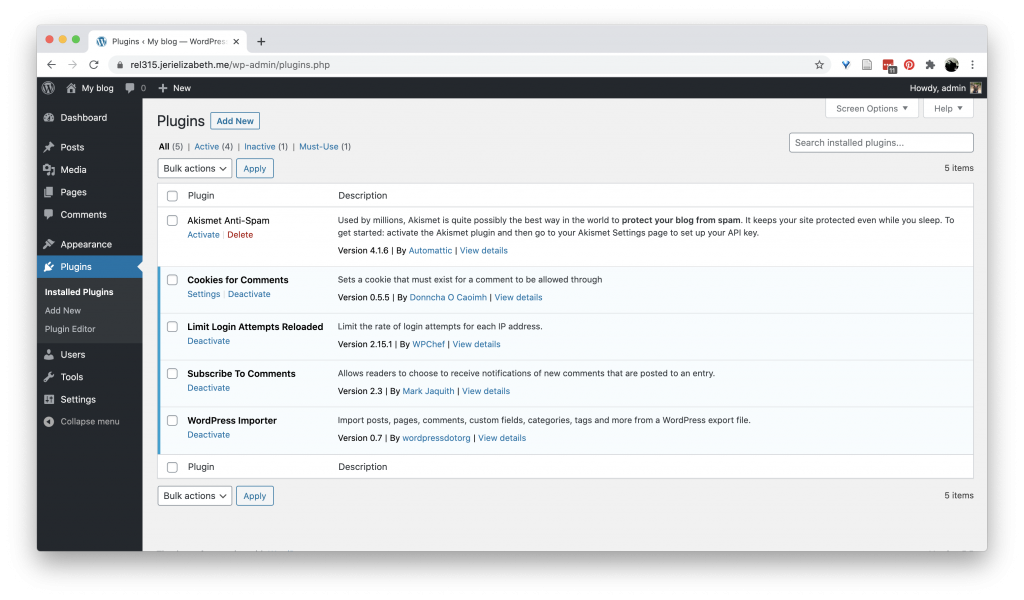
Both themes and plugins separate being installed on the site from being “activated.” To turn on a plugin or switch themes, you must “activate” it.
When browsing for themes, you can “preview” how it will look with your content. This view lets you experiment with different customization options within the theme, such as creating a “menu” (or navigation bar) or changing the “widgets” that control the sidebar, footer, and the like.
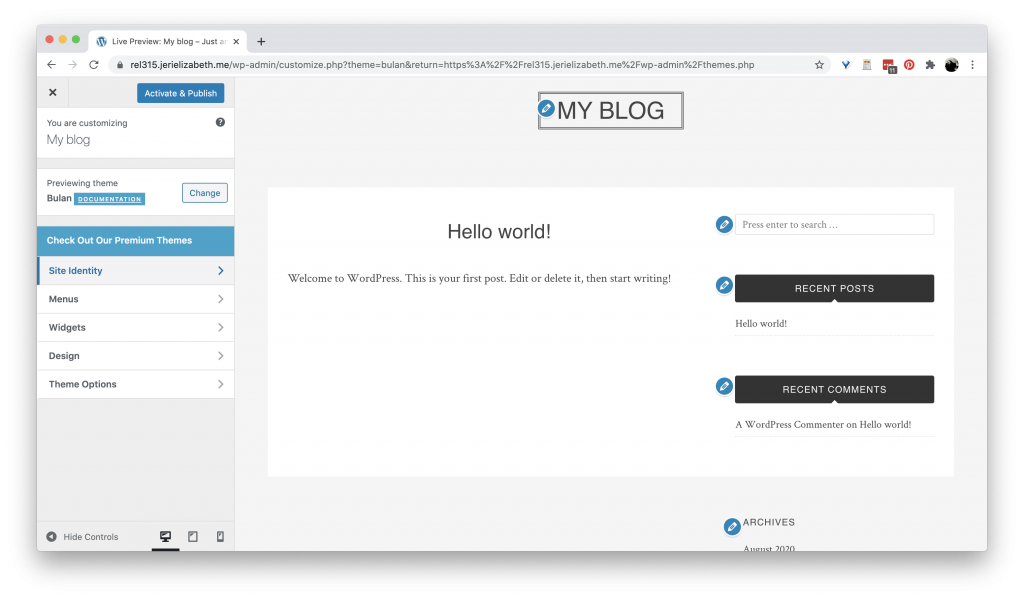
You can also access the menu and widgets through the “Appearance” menu in the main Dashboard sidebar.
Finally, the “users” menu is how to control who has access to the backend of your site. Unless you are running a multi-author site, this should be a sparse list.

Homework Assignment
Your homework is to set up and customize your WordPress site for the semester. The site will house your work over the semester and is a place for you to showcase the digital skills you are developing and your critical engagement with the theory and methods of DH.
To do this, at the very least, you need to:
- Select a theme (Try to find something other than one of the three default themes.)
- Install a new plugin to add some functionality to the site
- Create a menu for navigating your site. This requires you to think a little about how you want to organize your content. Is the initial page of your website your “about” information? Is it the blog? Some combination? To start this menu should include a link to the “blog” element of the site and an “about” page. Later in the semester, you will add a link to your DH project review and your Final Project.
- Create the following tags: Lab report; Reflection
- Create a user with admin privileges for me. Email me the credentials to jewieringa@ua.edu.
- Make sure your site is public (or email me to tell me why it shouldn’t be)
Each component is worth two points, for a total of 10.